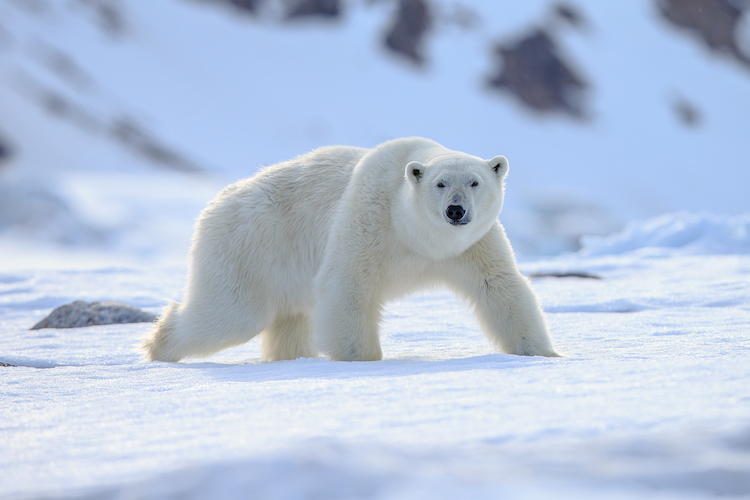
Photo: Stock Photos from Vaclav Sebek/Shutterstock
The multi-talented polar bear can do it all. Not only is it the world's largest land-dwelling carnivore—beating both brown bears and Bengal tigers—but it's also an adept swimmer that can swim for days to find its next meal. While it's nice to admire this incredible creature from afar, why not celebrate its noble beauty by sketching its likeness? Although it may seem daunting to try and render this massive bear, you'll find that with a little bit of patience and some illustrated guidance, you too can render a portrait.
In this tutorial, we will go through the steps of sketching a polar bear walking through the arctic under a full moon. Ready to give it a go? Then grab your drawing supplies and some paper—it's time to draw a polar bear!
How to Draw a Polar Bear, Step by Step
Step 1: Draw a circle

Photo & Art: Margherita Cole | My Modern Met
Begin by sketching a circle for the head of the polar bear.
Step 2: Add the snout
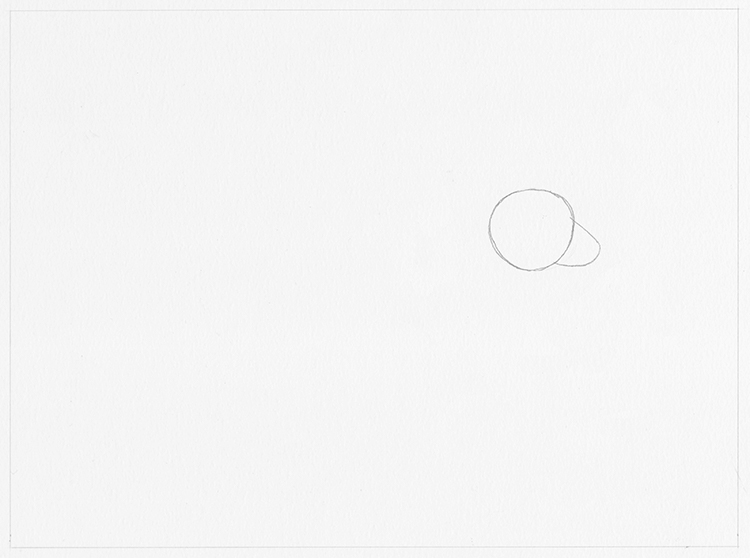
Photo & Art: Margherita Cole | My Modern Met
Next, add a rounded snout to the circle.
Step 3: Sketch the body
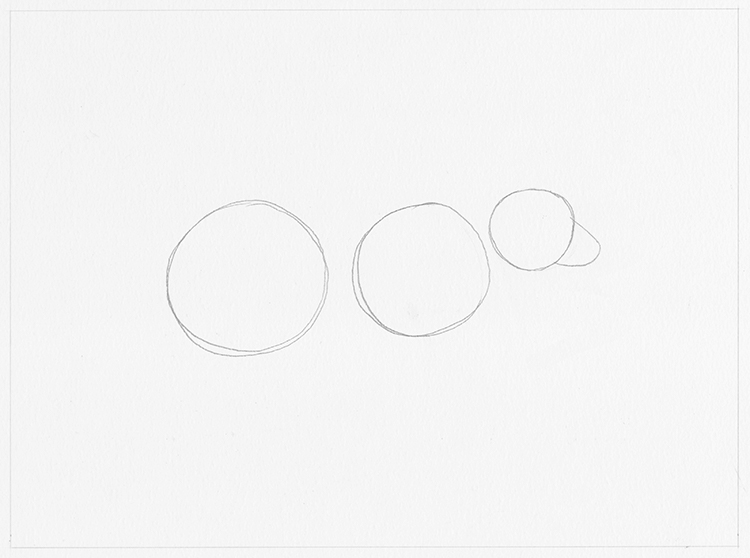
Photo & Art: Margherita Cole | My Modern Met
Afterward, we're going to start building the body of the polar bear using two different sized circles. The first will be the chest, so place it near the head. The second will encompass the hindlegs of the polar bear and should be slightly larger.
Step 4: Connect the circles
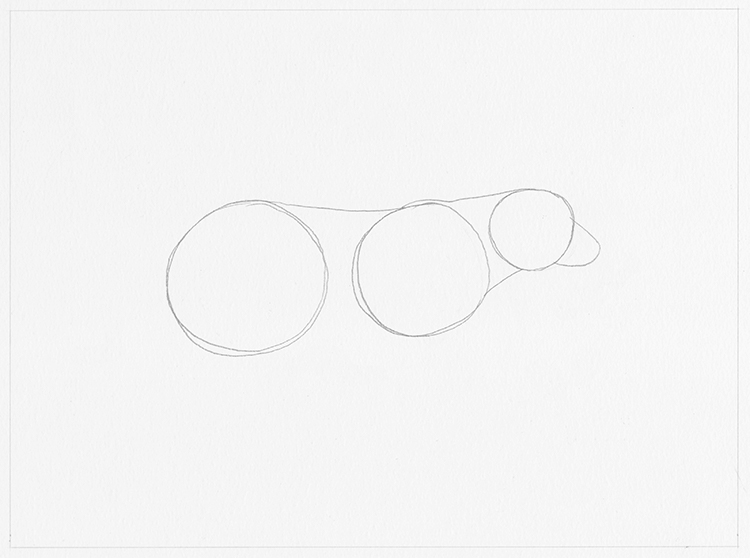
Photo & Art: Margherita Cole | My Modern Met
Then, connect these circles by drawing a line across the back.
Step 5: Sketch the hind legs
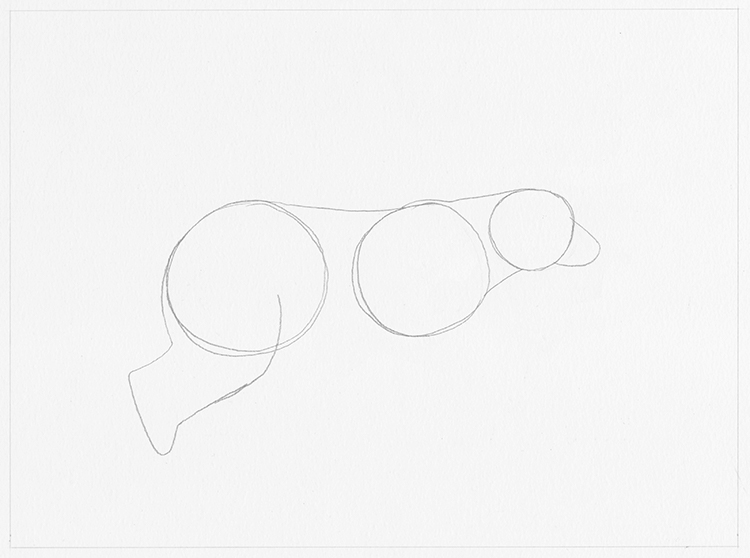
Photo & Art: Margherita Cole | My Modern Met
Next, we'll add the hind legs. Polar bears have thick, heavy coats, so you'll want to keep these limbs fairly wide. So, using the circle we drew in Step 3, sketch a slightly bent leg with a large paw.
Afterward, draw the hind leg that is further away in a more straight position. At this time, you can also add the tail near the bear's bottom.
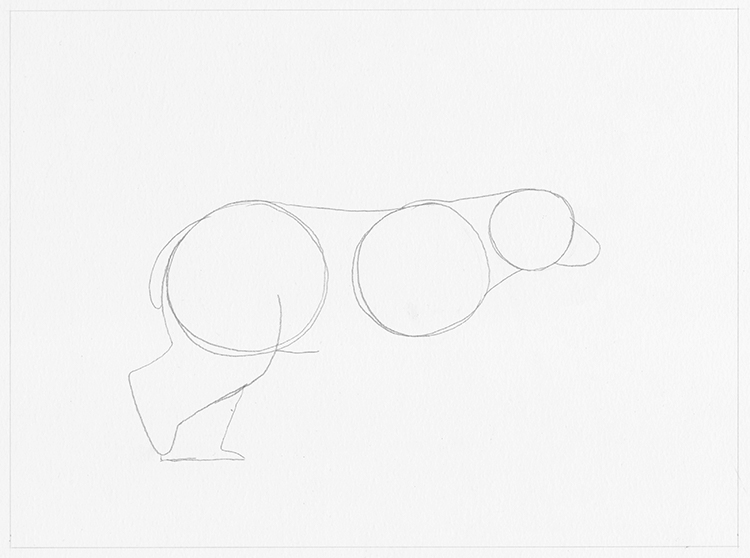
Photo & Art: Margherita Cole | My Modern Met
Step 6: Draw the front legs
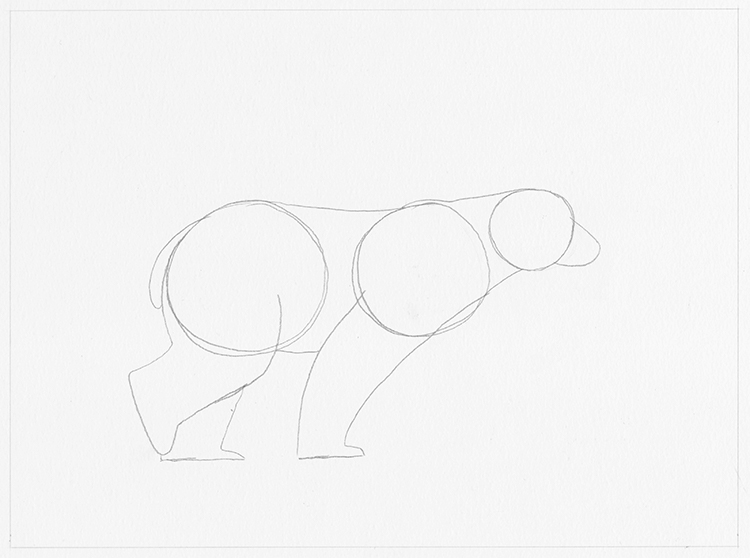
Photo & Art: Margherita Cole | My Modern Met
Now, we'll add the front legs to the polar bear. To do this, sketch a long sloping line from the head to the ground. Use this to create the front leg nearest to you, which is extended as the bear walks. The other leg will be moving forward in a complementary position.
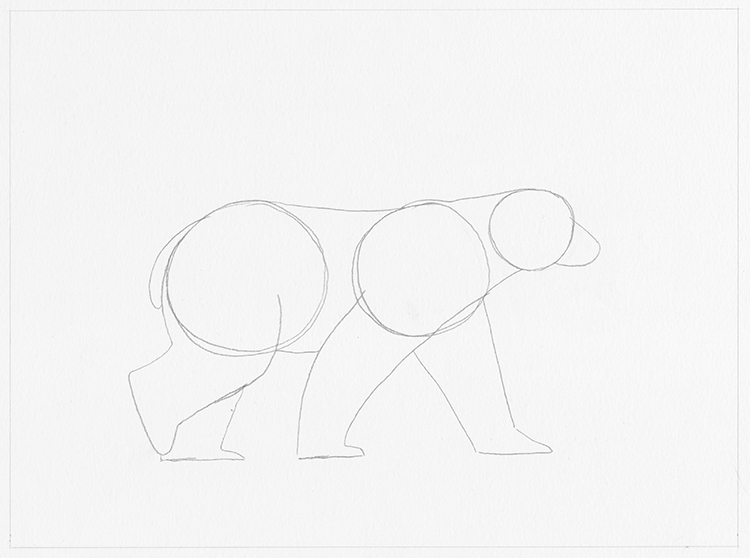
Photo & Art: Margherita Cole | My Modern Met
Step 7: Add ears
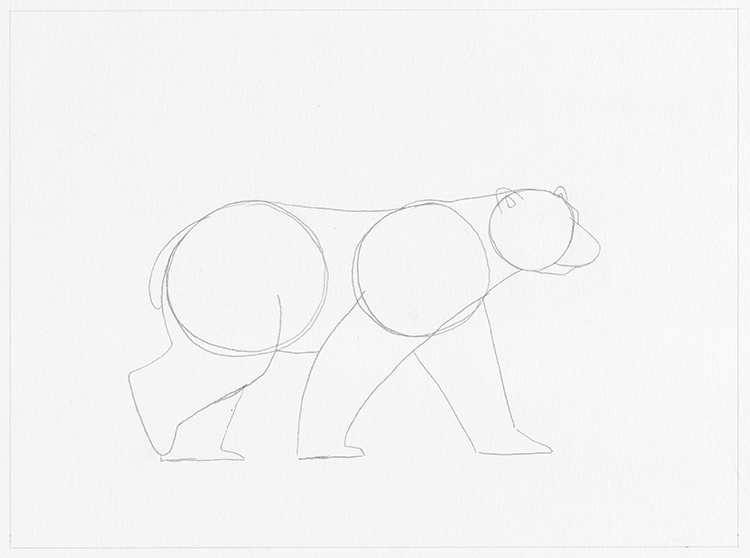
Photo & Art: Margherita Cole | My Modern Met
Next, add two small ears to the top of the head, as well as some extra fur to the bottom of the snout.
Step 8: Erase unnecessary pencil marks
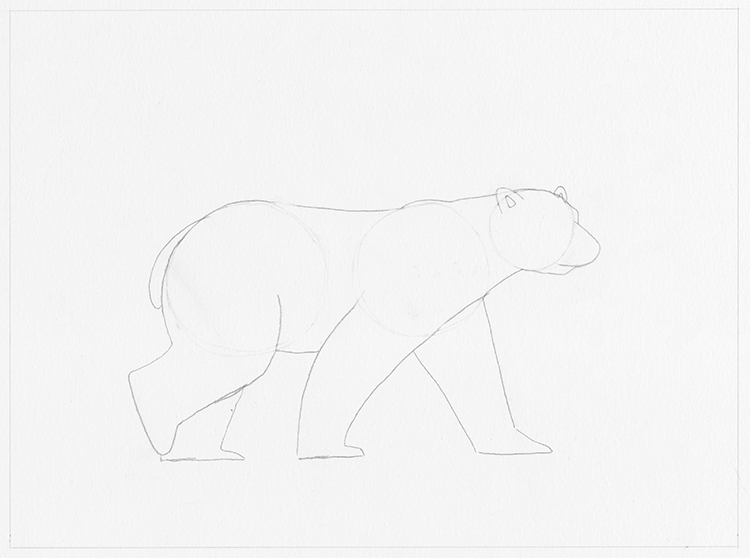
Photo & Art: Margherita Cole | My Modern Met
Before we fill in the bear with details, take some time to erase any unnecessary or distracting pencil marks until you have a clean outline.
Step 9: Add the facial features and some texture
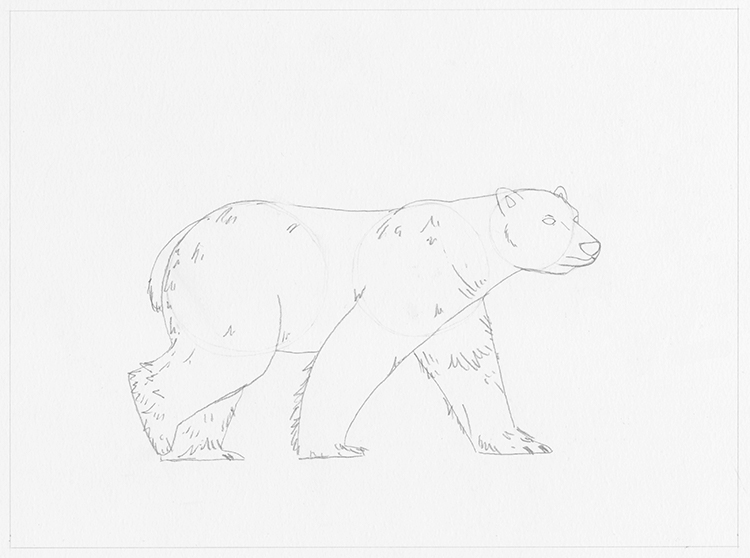
Photo & Art: Margherita Cole | My Modern Met
Finally, it's time to jazz up the polar bear with more details. So, draw a small almond-shaped eye about a third of the way down the circle and add a large nose to the tip of the snout. Remember to add a thin mouth curling underneath the nose.
Then, if you like, you can fill in the polar bear's fur with some hatch marks to create some texture.
Step 10: Sketch a background
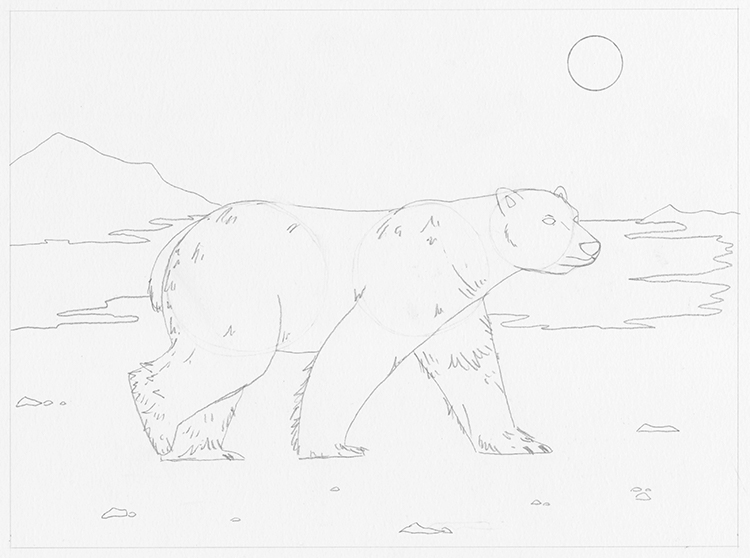
Photo & Art: Margherita Cole | My Modern Met
If you're putting in the effort of drawing a magnificent polar bear, why not make it a complete illustration by giving it a background? It's a great way to give your animal a story. In this example, the polar bear is walking across a snowy tundra at night, so I've added some icebergs and a full moon in the back.
Step 11: Go over the drawing in ink
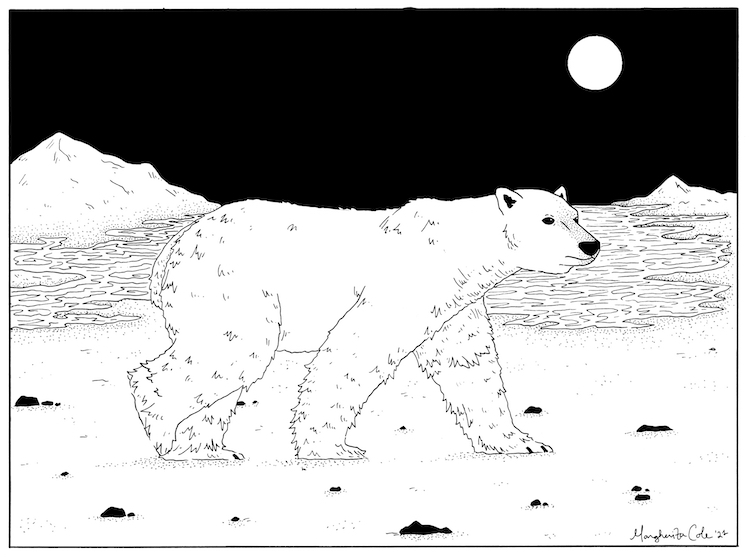
Photo & Art: Margherita Cole | My Modern Met
Finally, it's time to go over our drawing in ink. Place a scrap of paper under your drawing hand and slowly go over the sketch with a pen. Once you've gone over all of the marks, you can fill the night sky or any other large areas with black. It's important to leave this step until last, otherwise, you risk smearing the ink. Afterward, if you feel as though your drawing is still in need of more texture, add some stippling or hatching to certain areas—like beneath the polar bear's paws, around the nose, in the fur, etc.
After you've finished, you can either add color to the composition or leave it as is for a striking black and white illustration of a polar bear!
Looking for others who love drawing? Join our Art, Design, Photography, and Drawing Club on Facebook!
Related Articles:
Learn How to Draw a Sleeping Arctic Fox in 9 Steps