Photo: lilithlita/DepositPhotos
Sea turtles are more than just critters with cute faces. These amazing animals share ancestry with dinosaurs and travel thousands of miles to nest and forage. Not only that, but they can live for a hundred years in the wild.
Want to learn how to artistically draw this incredible reptile? This tutorial will teach you how to render a sea turtle in pencil, before completing it in ink. All you will need to get started is a reference photo of a sea turtle, some paper, and drawing supplies. Ready to give it a go? Then, let's draw a sea turtle!
Learn How to Draw a Sea Turtle Step by Step
Step 1: Draw an oval

Photo & Art: Margherita Cole | My Modern Met
First, draw a sideways oval to create the head of the turtle.
Step 2: Add the neck
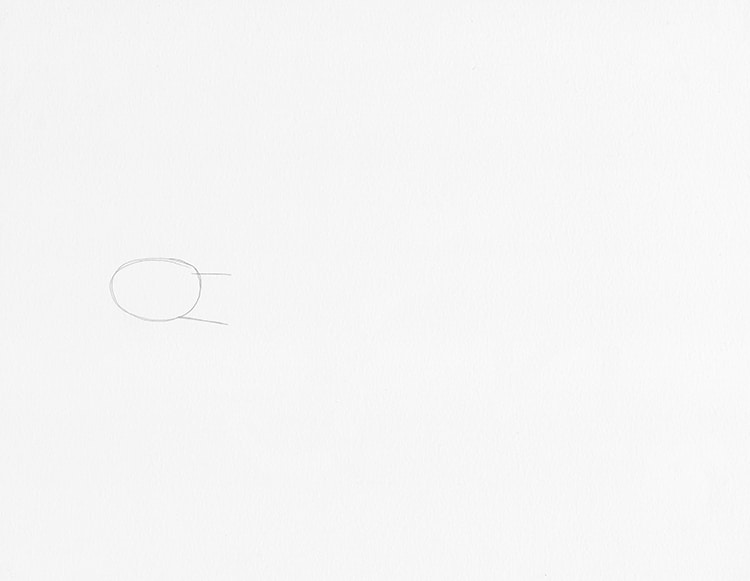
Photo & Art: Margherita Cole | My Modern Met
Next, make the neck by attaching two lines to the right side of the oval.
Step 3: Sketch the body
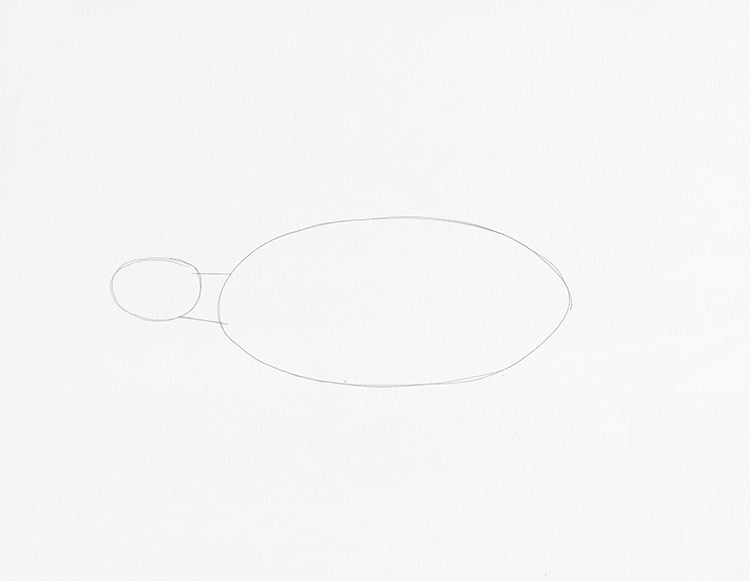
Photo & Art: Margherita Cole | My Modern Met
Although it might be tempting to draw the shell next, we're going to continue to keep things simple and sketch a large oval at the other end of the neck.
Step 4: Add the front flipper
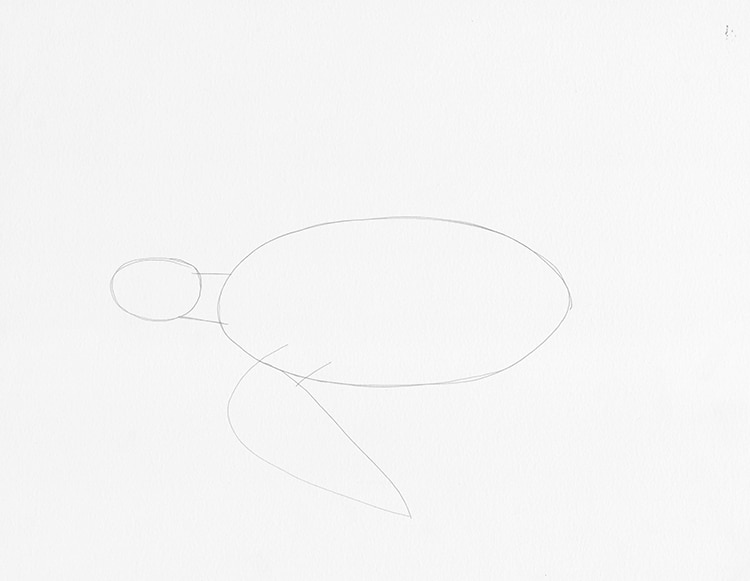
Photo & Art: Margherita Cole | My Modern Met
Now, add the front flipper by attaching a long petal-like shape to the oval body.
Step 5: Add the hind flipper
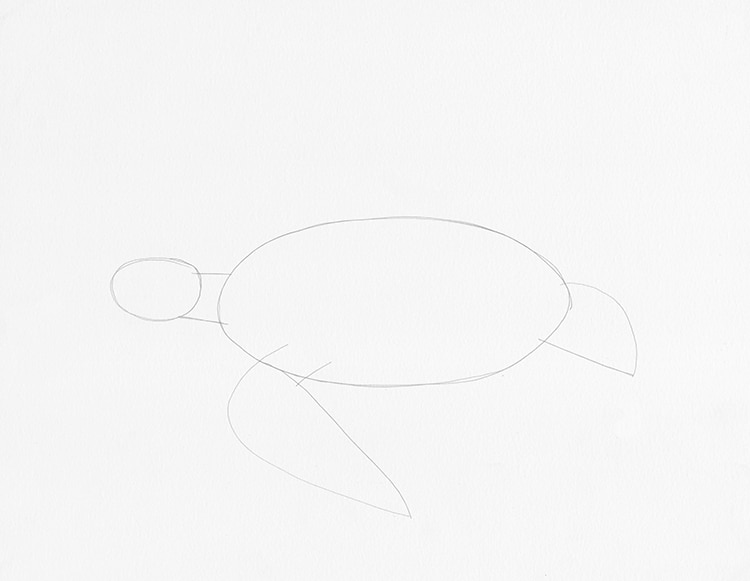
Photo & Art: Margherita Cole | My Modern Met
Afterward, move to the end of the large oval and sketch a small half-circle to create the hind flipper.
Step 6: Draw the shell
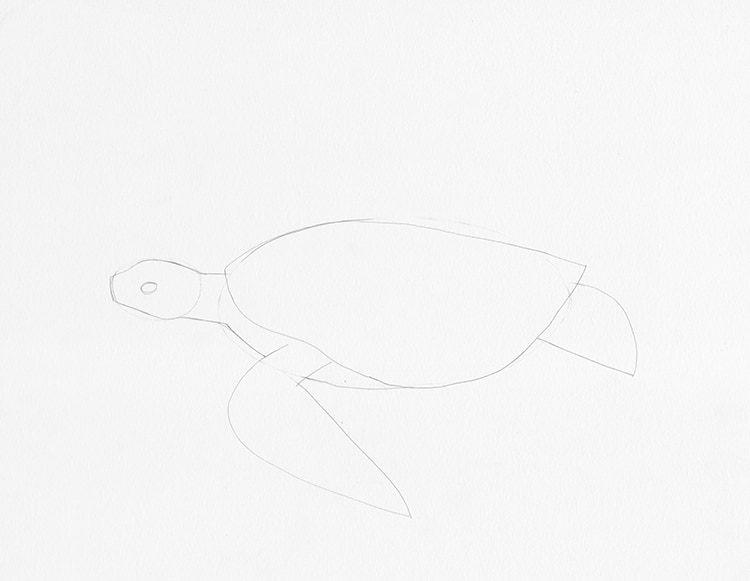
Photo & Art: Margherita Cole | My Modern Met
Now that we have all of the basic geometric shapes in place, we can work on defining the turtle, beginning with the shell. So, at the bottom of the neck, sketch a loose, wavy line that rises over the front flipper before rejoining the bottom line of the oval. Basically, the shell will curve over the appendages of the turtle and cover the stomach.
Next, move your pencil to the head of the turtle and add a little bit of definition around the nose. Remember to sketch a small oval eye about halfway down the face.
Step 7: Define the flippers
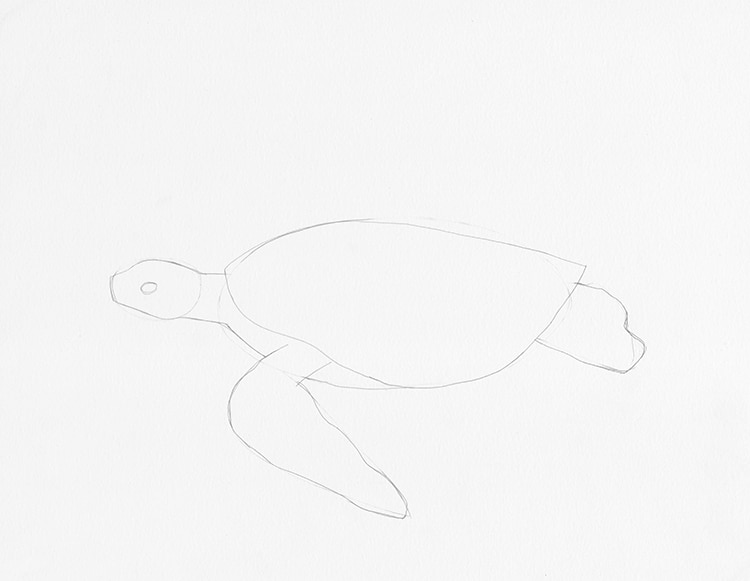
Photo & Art: Margherita Cole | My Modern Met
Return your attention back to the flippers and go over the straight lines you drew before with wavy lines.
Step 8: Sketch the shell pattern
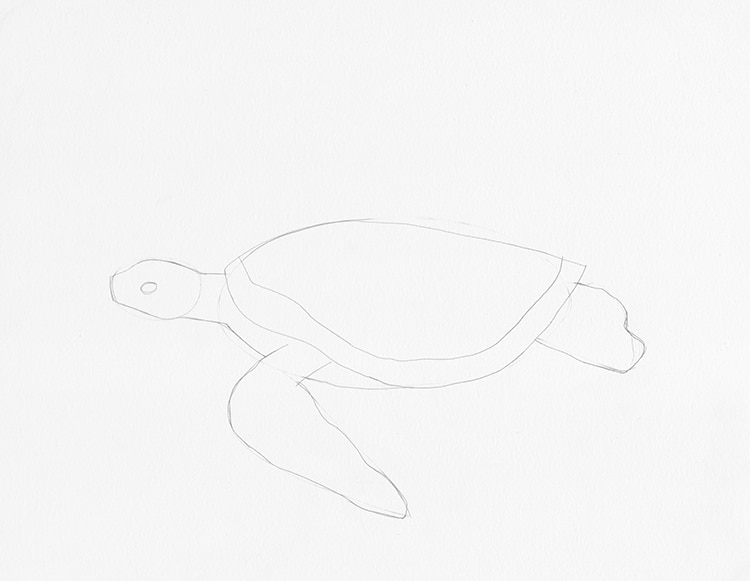
Photo & Art: Margherita Cole | My Modern Met
Now it's time to draw one of the things a sea turtle is best known for—the pattern on its shell! While this may look hard to replicate, it's actually simpler than you think. To get started, draw a loose line along the bottom of the shell. Then, fill in the bottom row with relatively equal size rectangles.
Next, add a mix of rectangles and pentagons above the bottom row. Check your work with reference photos until you're satisfied with the result.
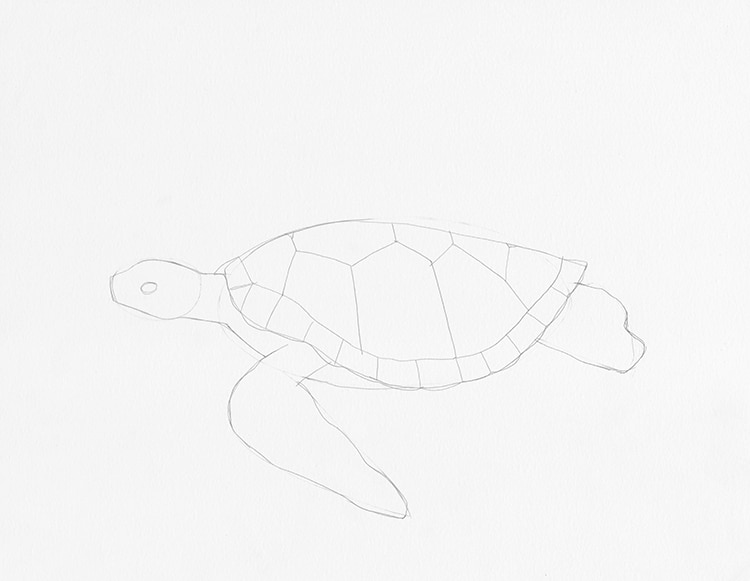
Photo & Art: Margherita Cole | My Modern Met
Step 9: Add pattern to the head
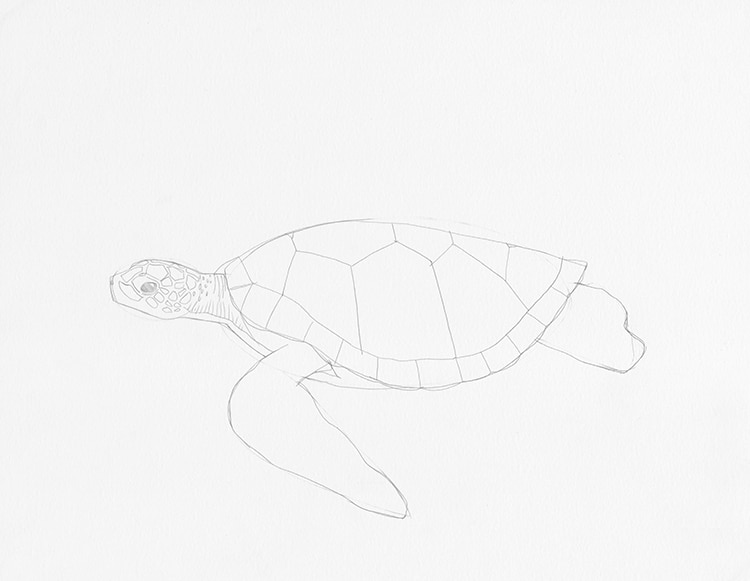
Photo & Art: Margherita Cole | My Modern Met
It's easy to forget that sea turtles have a pattern on parts of their body aside from their shell, but they do. Here, we'll focus on filling in the head of the turtle with varied geometric shapes. While these can be any pattern you like, the general rule is that these spots will be largest at the top of the turtle's head and get smaller as the head reaches the neck.
Step 10: Add pattern to the flippers
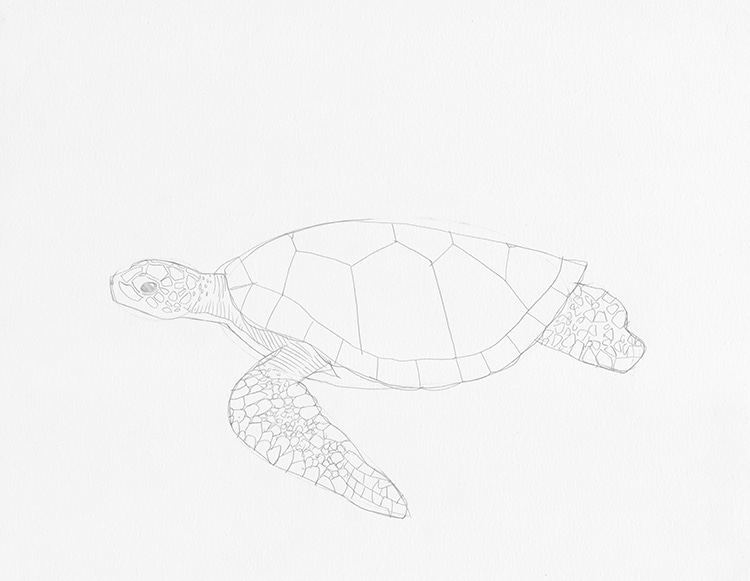
Photo & Art: Margherita Cole | My Modern Met
Now, add the same geometric pattern to the flippers. In this case, the pattern should be larger and more crowded in the front flipper, and a little more spread out in the hind flipper. Again, consider consulting your reference photos for extra help and inspiration.
Step 11: Go over the drawing with ink
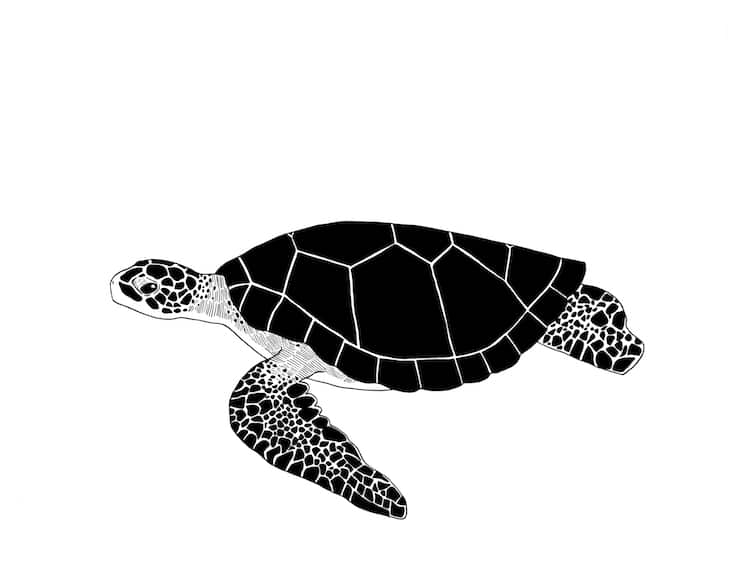
Photo & Art: Margherita Cole | My Modern Met
Since sea turtles have such a lovely, distinct pattern, you can enhance its beauty (and your hard work) by going over the drawing in ink. So, using your pen or pens of choice, trace over your sketch. After you've gone over all of the pencil marks, fill in the areas of black. If you're going to color the shell of the turtle in black as well, then remember to leave white space in between the different shapes so that the pattern remains visible.
After you've waited for the ink to dry, erase any remaining pencil lines, and congrats! You've learned how to draw a sea turtle.
Looking for others who love drawing? Join our Art, Design, Photography, and Drawing Club on Facebook!
Related Articles:
Learn How to Draw a Bottlenose Dolphin Step by Step
Learn How to Draw a Great White Shark in 7 Simple Steps
Learn How to Draw Koi Fish With This Easy Step-By-Step Guide


